Sunday, December 20, 2015

Plastic Model Tips and Tricks: Photo Diorama- Jet Age Flight Line


     With this blog always expanding as I find more things about my hobbies to write about and share, I find that my photos of airplanes not in flight need more of a base to stand on. Instead of just placing them on a piece of neutral colored media, I came up with an idea to create a small easy to transport “flight line” for my jet age models. I first had some questions to answer myself before I came up with a plan of attach. The first area to cover 
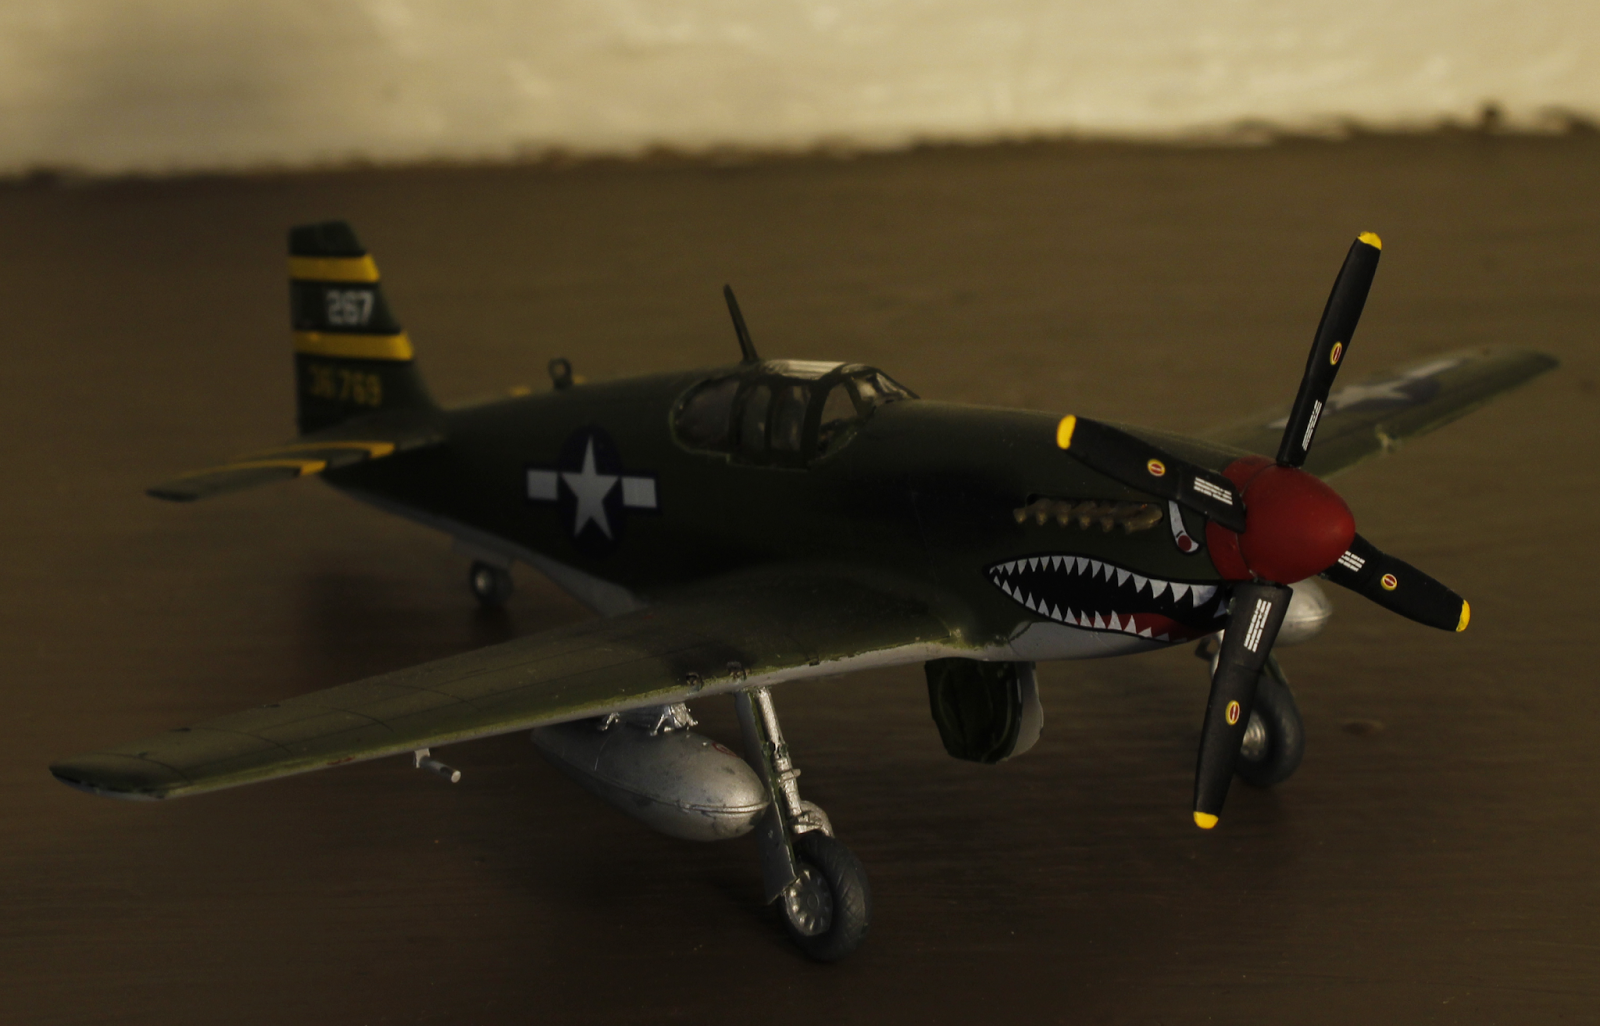
was what size to make this little display stand, I only work with 1/72 scale aircraft; with that said, I had to for see what most aircraft space would take up on a simple display stand. Mostly I am looking at a one foot by one foot area of a foot print. Now, looking at the foot print of most landing gear area I foresee it being less than that. My decision was to go with a six inch by twelve inch plywood base and spot the aircraft at an angle to maximize the available space. This is only a general guess for me, I can see that some “big” planes won’t fit but I feel confident that this will work for most models I plan to build in the next few years.

     The build begins with a quick shopping at my local hobby shop for a piece of model aircraft grade plywood. I like this stuff because of its balance of strength and lightness. I decided to go with a ¼ inch piece that is six by twelve inches, I like the sturdiness of this size and it is not too small. Next, I need a 1/4-20 blind nut to act as my mount for my tripod, which will be used to hold the base as I take photos of the aircraft.
     Lastly, I need a sheet of Evergreen styrene of a thickness of .40 and a little over sized compared to my base. The rest of the supplies that I had on hand include, Prisma black color pencil, Tamiya deck tan, Tamiya gunmetal, Tamiya flat black spray, Tamiya grey primer, Plastruc diamond plate sheet, Durango Press HO scale manhole covers, Vallejo black wash, Testors Dullcote and Woodland Scenic yellow stripe dry transfers.
     Construction starts with finding the center of the board and drilling a 1/4 inch hole for the blind nut, once in place, it is then glued in with CA glue for added durability.

The styrene sheet (white) and diamond tread (tan)
It all begins here with making the tripod mount
The manhole covers are laid on the sheet for placement marking
     After the blind nut is in place, the holes for the manhole covers are created . Next, the styrene is laid out onto the wood and attached with Walthers Goo and allowed some time to dry. I left a little bit of space open where the Goo was placed for a diamond plated access hatch that is seen on some flight lines during the 1950’s and 1960’s along with room for two manhole access covers. 

     The opening for the diamond plate hatch is only an eye ball judgment and was around 1/2 inch by 1 inch. The plate was then cut and fitted into place onto the wood base and glued in with CA glue. The manhole covers were drilled and cut into place but I had to sand down the backs of the covers so they didn’t protrude too far above the plastic.

Openings for the manhole covers
   
     Next in the process is to pant the base to look like concrete. I chose Tamiya deck tan because of its look of aged concrete to represent a well-used flight line. The manhole covers were also painted during this time with Tamiya gunmetal. Once the paint was in place, it was allowed to dry for a couple days. As the days pasted, the project was continued with a smooth application of Testors Dulcoat to seal the paint for the next step. After a few minutes of drying, the next step was to draw in the simulated expansion lines into the concrete. This is achieved by making marks every two inches and made into two by two inch squares. I did this in angle to add visual interest and should be done with the aid of a metal straight edge to keep the lines straight and at the correct lengths.


After a quick spray of Tamiya primer, the
 Deck Tan color is applied to the diorama base
Once the Deck Tan color is applied the covers
were painted with Tamiya Gunmetal.


     Final few steps include, sealing the expansion lines again with Dullcote and then laying out the yellow guide line with Woodland Scenic dry transfers. The base is then sealed again with Dulcoat to protect the dry transfer. Next, a few “oil” spots are created with Vallejo black wash, and finally the whole base is sealed with Dullcote.
      To give the base a professional look, I sprayed the bottom and side of the base with Tamiya Matt Black spray. The top of the base was covered up with masking tape and a piece of a brown paper bag along with covering the blind nut opening to prevent the thread from not working properly. A word of caution; be sure to take time in masking up anything. The more time and care you take in masking off areas the less time you spend repainting the areas you didn’t want paint landing on.

   
     So there you have it, a nice photo diorama for my jet age airplanes for all to enjoy, this can be done in a weekend if you have an entire weekend free or in this case only a few spaced out days. Happy modeling everyone, TRWBM.

Sunday, September 13, 2015

Completed Plastic Models: Hasegawa 1/72 Republic P-47D Bubbletop

     The Republic P-47, as covered earlier in my blog with the razorback version, was America’s great workhorse for the Army Air Corps in World War Two. It’s engine, a powerful Prat and Whitney R2800 radial, had the muscle power to dogfight any enemy aircraft it came upon and with eight M2 Browning .50 Caliber machine guns, it also had the fire power up front to attack ground targets as well as enemy aircraft.


     This Hasegawa kit was bought a few years ago because of my purchase of Sky Models P-47 decal sheet. The sheet came with various nose arts of famous pilots, as seen with the other P47 on my blog, which grab my attention to because of the uniqueness of nose arts on airplanes. Also, I was inspired by the P-47 Bubbletop version at the United States Air Force Museum which has on display a recreation of Col. Joseph Laughlin’s famous aircraft Five by Five. He commanded the 362nd Fighter Group of the 9th Air Force in early 1945.


     The plane was sprayed in Tamiya aluminum and detail painted with Testor’s enamel for the red and yellow. The olive drab was achieved with Tamiya acrylic that was taped off after the aluminum had dried. As always, the model was cleared with a gloss coat, decaled, and dull coated. Similar to the other Hasegawa P-47 on this blog, the kit assembles very well and I can’t wait to tackle another one of these aircraft with some special nose art. TRWBM.

Wednesday, September 9, 2015

Completed Plastic Models: Academy 1/72 North American Rockwell OV-10 Bronco

     As the United States left the nineteen fifties it was apparent that the early Cold War idea of fighting the enemy with long range, unguided weapons was not the answer. Instead, a need was apparent in the end of the decade for an aircraft to perform counter-insurgency (COIN for short) and forward air command (FAC). At the dawn of nineteen sixty there was no aircraft able enough to meet those requirements, the fast F86 Sabre with its swept wing design was only a match for the Russian build Mig 15. The fighters of the fifties, F89, F94, etc. could not fly slow enough and or carry a payload capable of supporting ground troops or even loiter for a reasonable time.

     North American and Rockwell brought forth a joint design to meet the needs of COIN and FAC. Originally known as the NA-300 during the test trials, it beat out all of the other ten proposals from other airplane manufactures. The Bronco saw service in the US Navy, Air Force and Army during its service along with many foreign countries.


      The Academy 1/72 scale version is of the A model, an early variant. The kit assembled very nicely and a surprise for me since I have found many Academy kits to have poor fitting parts and crude detailing. The kits assemble starts as most do with the cockpit interior put together then the main fuselage halves are glued in place. Only two extra items were added to this otherwise out of box build, a single sidewinder from an Eduard set was added with a cover for the heat seeking sensor and also “remove before flight” tags from Eduard were also added. The airplane was hand painted and the gloss coated for decaling. The decals are from the kit and I had no struggle getting them to sit properly on the model. I chose to represent my aircraft as serial number 14694 (reversing the supplied number of 14649) of the 20th TASS (Tactical Air Support Squadron)/ 504th TASG (Tactical Air Support Group) stationed at Da Nang Air Base in South Vietnam in 1969. The model was then sprayed with Testors Dull coat and finally lightly weathered with Tamiya powders. I enjoyed this build like most of my builds; it is an inexpensive model for someone with a few kits under their belt to try out. TRWBM.

Friday, September 4, 2015

Completed Plastic Models: Revell of Germany 1/72 North American P-51B Mustang

     There isn’t much that can be said about the North American P-51 Mustang that hasn’t been said, it has entered into legendary status since WWII as a powerful escort fighter for bombing raids made by the Americans. It saw service in the European theater and in the Pacific theater and after WWII it still proved to be useful in the early conflicts of the Korean War. It is in a league of fast and very maneuverable fighters along with the P-47, Hellcat, and Corsair.

     This completed model is molded by Revell of Germany and was built from the box with no added aftermarket parts, only small decals from Warbird Decals for kill markings. I don’t recall any majorly bad fitting issues with the parts and the decals needed very little convincing to fit on to the surface of the kit. The aircraft is painted and marked for Col. “Tex” Hill with the 26th fighter squadron, 51st fighter group in Kunming, China in 1945. When flying this aircraft Col. “Tex” Hill was credited with six kills, so I only put four kill markings to represent the airplane in active service. It was painted with Tamiya Olive Drab 2, the first time I have used their olive drab and was very pleased with the result of the finish, and Tamiya light grey primer for the neutral grey underside. For the first time, I tried out Tamiya’s TS-13 clear and loved it. The glossy smooth finish it creates is great for decaling and the model was finished with Testor’s dullcoat and then weathered with Tamiya weathering kits.


     I enjoyed the model and the like the results I got with the building process, it is my first time doing the legendary P-51 and I have always preferred the “B” model compared to the bubble top “D” model of the Mustang. I hope you enjoy the photos! TRWBM.  

Modeller on the Move: Trip to the National Air Force Museum in Dayton, Ohio

     During the weekend of August 22 and 23, my father and I took our annual road trip to central Ohio, The first day and night consisted of a day in Columbus, Ohio to cheer on our beloved Columbus Crew SC, one of my other hobbies, and the next day a trip to Dayton, Ohio for an all-day adventure of touring the National Air Force Museum. I thought I would give my readers who haven’t been able to visit this wonderful museum a quick look into what it has on display and for everyone who is a frequent reader of this blog a chance to see my favorite aircraft on display in the museum.


     For those looking to more information of the museum, take a look at their website, http://www.nationalmuseum.af.mil/

Here are some of my highlights of this massive museum:
Grumman X-29A in the Research and Development Hanger

North American F107A in the Research and Development Hanger

North American F-100 Super Sabre In Thunderbirds Scheme

Wright Brothers 1909 Military Flyer in the Early Years Hanger

SPAD VII in the Early Years Hanger

Boeing P-26A "Peashooter" in the Early Years Hanger
Republic P47D Thunderbolt "Bubble Top" in the World War II Hanger

Junkers Ju-88D-1 in the World War II Hanger

Lockheed F-94A Starfire in the Korean War Hanger

Republic F-84E Thunderjet in the Korean War Hanger

Lockheed F-80C Shooting Star in the Korean War Hanger

Republic F-105G Thunderchief in the South East Asian Hanger

The very large Boeing B-52D Strtofortress in the South East Asian Hanger

Northrop F-89J Scorpion in the Cold War Hanger
North American F-86D Sabre in the Cold War Hanger

Panavia Tornado GR.1 in the Cold War Hanger

An overview of the Cold War Hanger
Thank you for looking through the photos, this is only a sliver of what is in the museum and it can easy fill up an entire weekend looking though what is in each hanger. I hope everyone who enjoys aviation history gets to visit this grand museum. TRWBM  

Friday, August 21, 2015

Completed Plastic Models-Hasegawa 1/72 Republic P-47D Thunderbolt (Razorback)

     Next to the North American P-51 Mustang, the Republic P-47 Thunderbolt was a great workhorse for the Army Air Corps during WWII. The Thunderbolt was a great attacking aircraft for the United States, sporting a powerful Prat and Whitney R2800 radial it has the muscle power and with 8 M2 Browning .50 Caliber machine guns, it also had the fire power up front to attack ground targets as well as enemy aircraft. It was an important weapon to have in the United States arsenal in the European theater as well as the Pacific theater.


     This model represents Lieutenant F McCauley of the 61st Fighter Squadron 56th Fighter Group stationed in Halesworth, England in October 1943. The kit was built straight from the box and I used decals from Skymodels to represent Lt. McCauley’s aircraft. It was a quick built for me, I started on a Friday night and finished it on the following Monday night.


     I found nothing out of the ordinary as far as fit issues with any of the parts, as expected with most Hasegawa kits. The Hasegawa kit that I used was part of a dual combo kit that included a very extensive stencil set of decals for this aircraft along with a bubble top version of the P-47. The plane was spray painted with Tamiya olive drab 2 and Tamiya primer gray for the underside. Also, the white stripes on the cowl in the front and on the tip of the tail are done in Tamiya white primer, the stripe on the middle of the tail is a decal from the kits decal sheet. It was then clear coated with Tamiya, as usual, once dried the decals were applied, the aircraft received a flat clear coat and then it was weathered with Tamiya weathering powders and sealed once more with a flat coat. Enjoy the photos. TRWBM.  

Wednesday, August 12, 2015

In The Works: Building a Burlington Northern EMD SW1500 in HO Scale Part Two

In the first part I covered building most of the front pilot and most of the front of the switcher and in this installment I will finish up the front of the switcher and make my way down to the rest of the long hood, air tanks, piping, and fuel tank details. 

Front End of SW1500 with most of the parts in place.


       Continuing with the front of the locomotive, the first of the safety tread kit from Cannon and Company was used with the start of the front end walkway. Next, the 27 pin Multi-unit (MU) cable and receptacles were installed by drilling holes into the front pilot and first positioning the right side dummy plug and letting it dry. The “live” cable receptacle is on the walkway and the box is glued in using cyanoacrylate glue (CA). Once the receptacle box on the walkway was full secured, the cable itself was mounted with CA glue and stretch straight out and allowed a few moment to fully dry.

SW1500 with the 27 pin MU cable installed.
After letting the cable dry for a half hour, I carefully bent it with tweezers into the proper shape and then glued with CA to the open hole on the front pilot. Once the tread and MU cables were glued in placed, the drop step was mounted in the center of the end of the walkway.  One of the last items to tidy up on the front pilot is the bottom of the coupler buffer plate needs to be covered with Evergreen styrene. A small square of it was cut using my Northwest Shortline Chopper and then glued in place with a dab of CA on the inside.

The completed end of the SW1500.


Side view of grab irons with styrene insert.
     While the CA glue was setting up and fully drying, attention was given to the rest of the long hood of the SW1500. Using a number 80 drill bit, the holes for the grab irons were carefully drilled on the long hood as well as the conductor’s side cab body and end of the battery box. A tip to add to help with this process, cut a narrow strip of .040 styrene and place in between the shell of the locomotive and the grab irons, press fit the grab irons snugly against the styrene and glue the from the inside of the shell.

Finished grab irons.
       Once the glue as finished drying, cut the remaining length of the grab iron on the inside of the shell and slide the styrene from in between the grab irons and the shell, this will leave you with evenly spaced and uniformed looking grab irons.


Finished steps on the front of the cab.

 As the grab irons finished drying, my attention went to the beginning of fitting the safety tread kit from Cannon & Company, as mentioned above the first one in place was the front two pieces near the MU receptacle, for this step I focused on the walk steps leading to the front of the locomotive, these proved to be simple because you are just simply gluing the tread pieces on top of the step block that Athearn had designed for this switcher. The side kick plate is also replaced with a metal one included in the tread kit.


Details West air tank kit and air dryer parts ready to be glued into place.
  For the last bit of this part I worked on the air tanks and air lines on the long hood of the switcher, this process started by carefully scribing off the molded on tanks by running a Xacto knife with a new blade in between the air tanks and side sill. By making shallow passes, I was able to carefully remove the molded tank with ease. Once both were removed, I prepped the new ones from Details West, the pewter casted air tanks were carefully sanded to eliminate the mold seem and the ends were drilled out to accepted the air lines as per the included instructions for the kit. Shallow holes were drilled into the underside of the walkway and the tanks were inserted and a dab of CA glue was used to secure the tanks.
Air tank in place.

Gluing in the covers for the gap in the underside of the cab.
Hole drilled for air dryer. Frame was in place to check truck clearance 
When looking at the prototype photos, it was clear that the locomotive was ordered with two large air dryers, one for the train line and one for the locomotive brakes. With two air dryer kits from Details West, this modification can be replicated. The ends of each of the air dryers were drilled to accept the air lines for the air system. Before the dryers were installed, I had to fill in an opening beneath the cab to create a surface for the dryers to be mounted to. I used strip styrene to achieve this. Once all the airlines were installed, I considered this session done. In the next installment I plan to finish the long hood and start on the rear pilot and rear end of the SW1500. Stay tuned! TRWBM.
Finished air system.

Finished piping on the locomotives left side.

Finished piping on the locomotives right side.

Wednesday, July 29, 2015

In the Works: Building a Burlington Northern EMD SW1500 in HO Scale Part One

        In January of 1973 the Burlington Northern received their only order from Electro-Motive Division (EMD) of the SW1500. All other groups of the SW1500 on the Burlington Northern roster came from its predecessor, Great Northern (GN) and later in 1980 from the Saint Louis and San Francisco (SLSF). The January EMD order (order number 71605) saw fifteen new switchers numbered from 310-324. For this project I have selected road number 320 because I have come across a photo of it in Whitefish, Montana during the 1980’s which is the era and region I model most of my BN equipment, so a win-win for me on this one. A photo of this locomotive can be found on railpictures.net. 

Most of the parts need are here along with the Undec locomotive  
          I started with an undecorated Athearn “blue box” kit it was bought it off of a friend of mine along with a few detail parts. The model came with a DCC decoder that was partially finished, only the motor and truck leads were attached. This will be changed to a DH165 from Digitrax but that is for a later paragraph and part. First items to replace were the truck side frames for the proper style for this particular locomotive. The model came with Flexicoil trucks side frames and with this EMD order the Burlington Northern opted for the AAR-B trucks, like many of their other switcher series models. The kit used is from Smokey Valley and each side frame consists of one frame, two bearing caps, and the air brake cylinder. As I go along with this project these will receive some attention with extra details, including a speed recorder, airlines, and sanding lines with these details, the trucks will really look the part underneath this locomotive.


          The detailing of the shell starts with the front of the locomotive. The original coupler buffer plate and MU hose holders were remove and replaced with a proper Detail West buffer coupler plate and 17” straight grab irons to hold back the MU cables. Next, the MU hoses were installed. I went with the now discontinued Overland brass MU cables. I like the look and the strength theses brass parts have, I plan on using them on future projects until I run out of them. It has been awhile since I have worked on any major HO scale projects of this caliber, with that said, I decided to try out a Cannon and Company safety tread kit for this locomotive. In continuing with the detailing the front of the locomotive, the solid steps originally on the shell were cut off and replaced with see through ones from the Cannon and Company kit. With a pleasant surprise, I was able to install them without any major issues.


         Lastly for this first part, the coupler cut lever was installed with the plastic brackets from Details Associates. The holes were drilled in and the brackets were carefully pushed through the cut lever bar and slide into place, once all four were slid though the holes on the pilot of the shell received a dab of plastic model glue and given a chance to become slightly tacky. Once tacky the cut lever bar was carefully set into place and allowed time to dry before it was handed to install the air hose on the front of the model by simply drilling a hole and attaching it with CA glue. Before, I completed the front of the model I installed the beginning of the safety tread piece with CA glue. There are still some small details to install on the front before I can call it finished but it will be saved for the next part of this series, stay tuned for the next part where I tackle the long hood and air tanks on the SW1500. Happy modelling! TRWBM